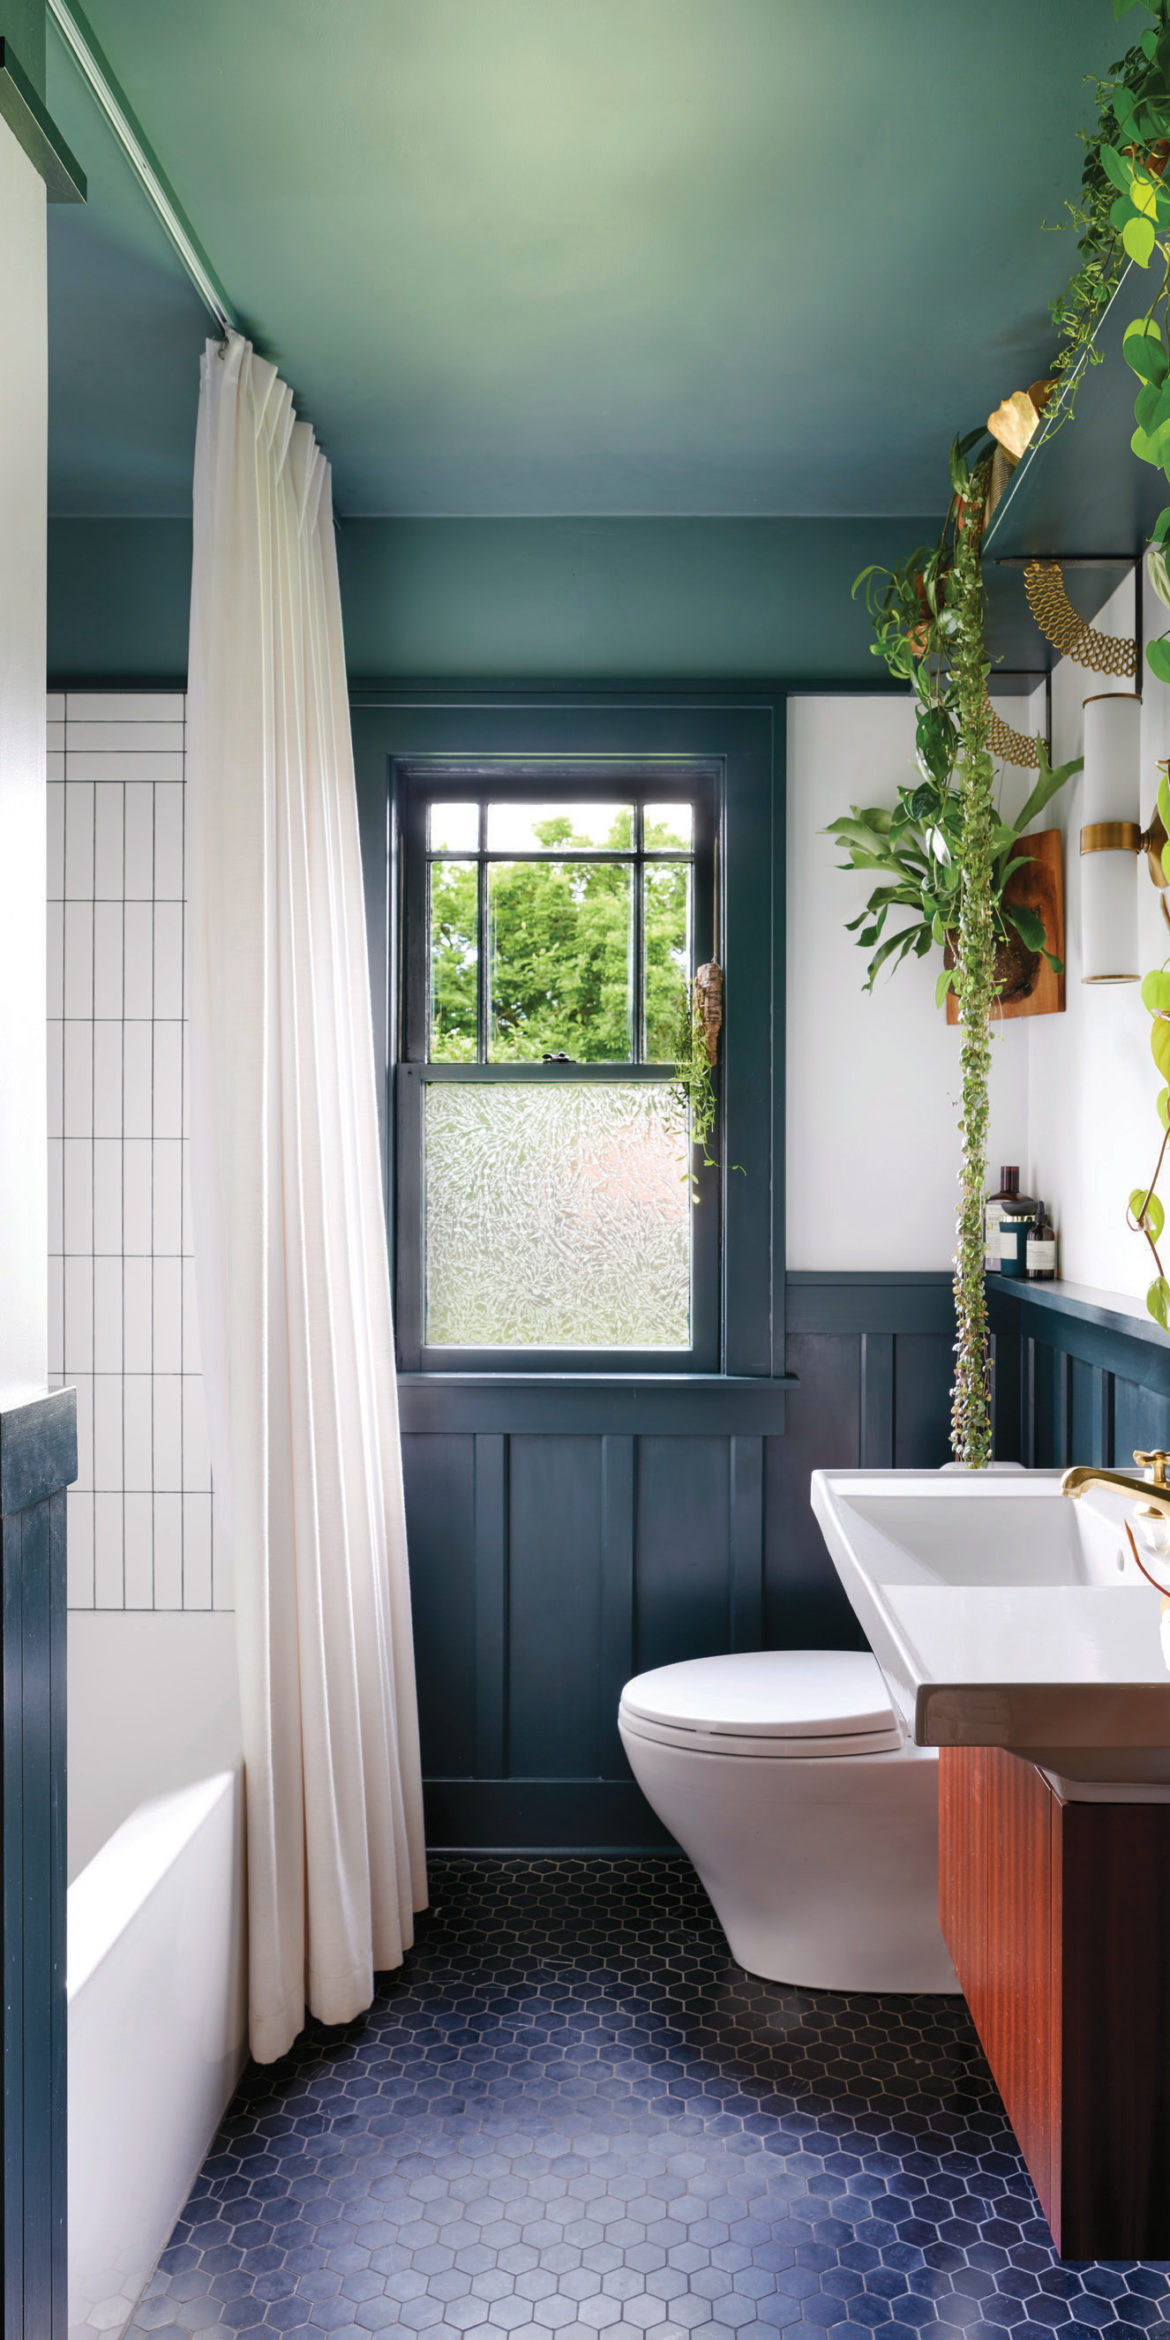
Wainscot, or wood-paneling installed on the lower section of wall in a room, can have a big impact, as seen in the custom treatment in Stephanie Dyer’s bathroom. Apply wainscot to one wall as an accent, or wrap the room, for instant depth and character. Here are our basic tips.
MIND THE PROPORTIONS
The key to getting wood paneling to look appropriate is to get the proportions right. First, measure the height from floor to ceiling. One approach is to have the height of the wood paneling, including any trim, be either ⅓ or ⅗ of the total wall height.
Pay attention to how the paneling height will interact with all of the other elements in the room, such as windows, light switches, towel bars, the mirror and existing trim. Use a level and a pencil to draw a light horizontal line around the room that marks the desired height.
A BASIC METHOD
The simplest approach is to use tongue-and-groove wood boards to form the paneled base. Cut the boards to length with a miter saw, or have it done at your local lumber source. Beginning in one corner, install the boards one at a time by applying construction adhesive to the back and then securing them to the wall with nails at the top and bottom of each plank. Slot the next board in place and proceed until you’ve worked completely around the room. Mind the spots where additional holes will be needed for plumbing connections, etc.
FINISH WITH TRIM
Apply trim, or decorative molding, at the top, and baseboard at the bottom of the tongue-and-groove, to cover nail holes and tidy the transitions between the paneling and the floor and existing wall. Make sure the proportions of any trim also fit the scheme and that the profile works with existing trim elsewhere in the room.
STAIN OR PAINT
Stain or paint the paneling according to the desired aesthetic. If staining, use a matching, stainable wood filler and caulk for the nail holes and seams. Wipe-on stains and finishes make this work go fast. If painting, use a paintable caulk and filler before rolling on the color. Opt for a higher paint sheen for durability, or contrast.


