Oregon Home and Design DIY: Warm up a room with this rustic design project
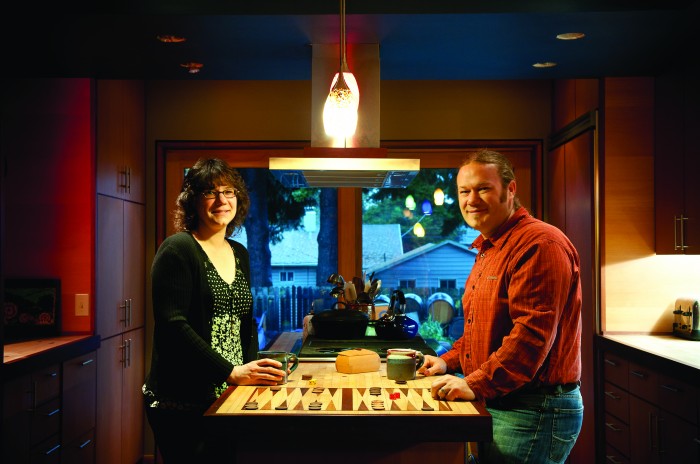
written by Melissa Dalton | photo by Erik Bishoff
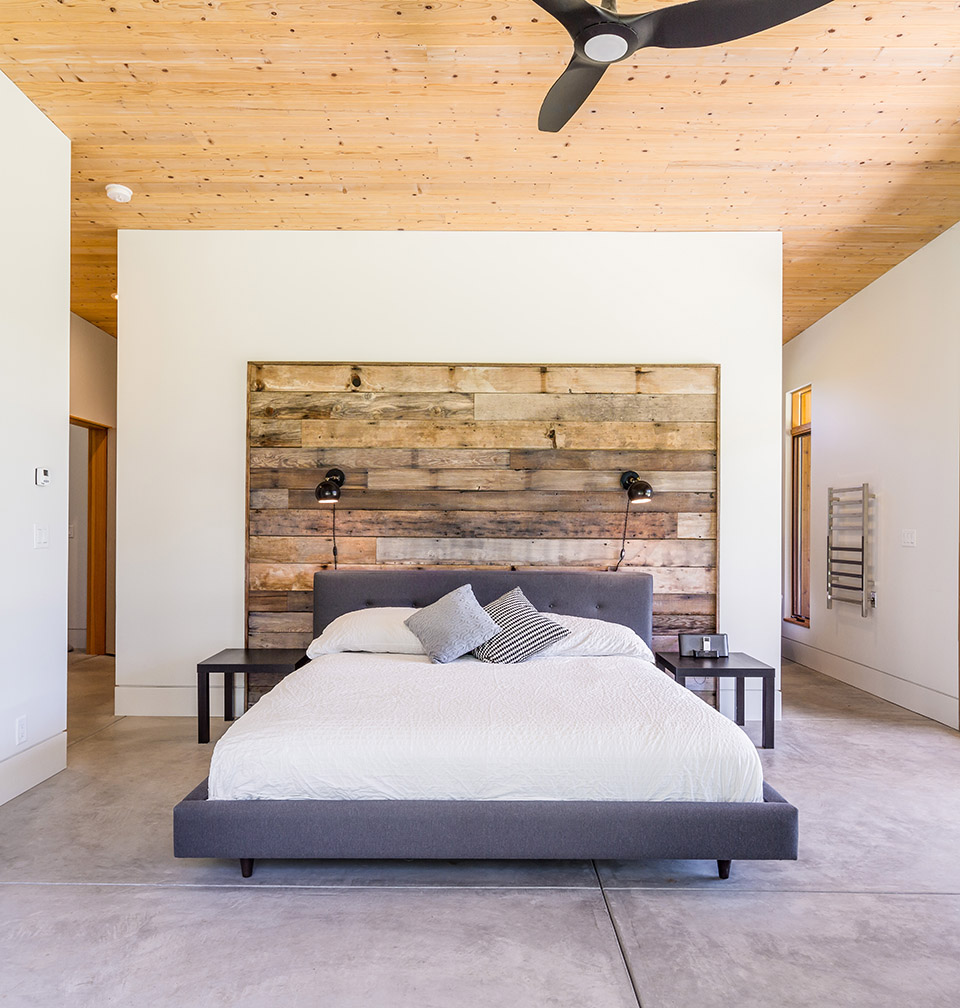
Real wood brings instant character to interior spaces, whether crafting a backdrop for the bed (like the Burgess family) or creating a stunning accent wall in the living room. Here are tips for tackling this project.
Wood Accent Wall Step 1: Get inspired
Plan out the design first. Scope tile layouts for pattern inspiration. Stagger the boards in an offset configuration, try a classic herringbone application, or dream up a unique combination.
Wood Accent Wall Step 2: Choose the wood
Reclaimed wood will lend patina, while 1x4s from the hardware store, stained to your preferred hue, give off a more modern vibe. If using salvaged wood, Rick Robertson, the owner of Six Degrees Construction, cautioned people to examine it for critters in residence. Also, ask the vendor questions about the wood’s source to determine whether it might have been previously exposed to a toxic finish, like lead paint.
Wood Accent Wall Step 3: Find your studs
“A lot of times, interior walls will have 16-inch centers, whereas exterior walls will have 2-foot centers,” said Robertson, meaning the distance between the studs can be different depending on the chosen wall. Pull out a stud detector to locate them, as their position can dictate the attachment method and possibly affect the length of the planks.
Wood Accent Wall Step 4: Get attached
A feature wall can be attached a number of ways, including with construction adhesive and finish nails, by screwing boards directly into the studs, by tacking up furring strips first, or by setting up a thin sheet of plywood and affixing the boards to it. Your wall construction and project design will determine the
best approach.
Wood Accent Wall Step 1: Seal it up
When choosing a sealant, test a couple products on one piece before covering the whole thing, Robertson suggested. That will allow you to observe whether it will discolor or strip salvaged material of its character. He’s had success using Benwood Stays Clear, a Benjamin Moore product.


