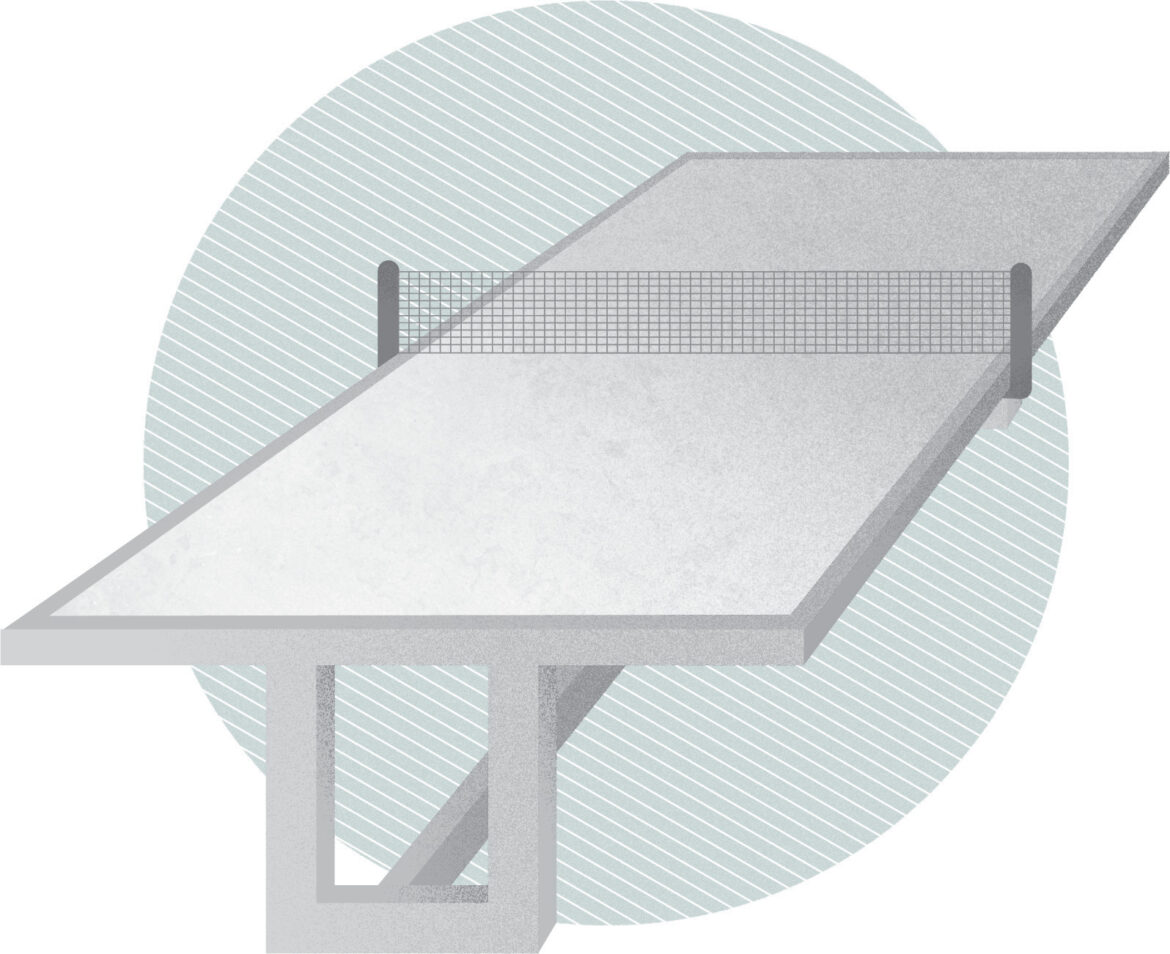
In 2018, we profiled an incredible backyard makeover in Salem, which had an outdoor dining table that could also be used for games of ping pong. What a great idea! It was custom-crafted from stone and concrete—not exactly easy to replicate—so here’s a DIY-version made of inexpensive construction materials and galvanized steel, which can be put together in about a weekend.
KEEP IN MIND
A regulation size ping pong table should be about 9 feet by 5 feet and 2½ feet high. For ease of construction, we sized our table to a standard sheet of plywood measuring 4 feet by 8 feet. This will also comfortably seat six to eight chairs, depending on their size, for dining.
Wherever you place the table needs enough clearance to play the game without hazard. Consider shade as well: the metal top gets hot if the table sits in the summer sun. If you want the metal to be a color, spray paint it before installing.
MATERIALS
One sheet of exterior grade plywood; a 4×8 sheet of galvanized steel, 12 or 14 gauge; five 2×4s; four 8-foot 2×2s; and two 8-foot 1×3s.
BUILD THE FRAME FOR THE TABLE TOP
This will support the plywood and galvanized steel top. Take two of the 8-foot 2×2s and cut three inches from each, so each measures 93 inches long. Cut the third 2×2 in half, so each length is four feet long. Screw together these four boards so they form a rectangle that is 96 × 48 inches. Next, cut the last 2×2 into two pieces, each 45 inches long. Attach those as supports inside the frame, at an 18-inch distance from either end.
ATTACH THE PLYWOOD
Lay the plywood on top of this frame. Screw top down into the frame, all along the edges and into the supports. This is to keep the top rigid. It shouldn’t flex.
BUILD THE BASE
Instead of attaching four legs, one at each corner, we want the legs to be inset from the table edge to accommodate chairs, and still provide maximum support. To do this, first build two rectangles from the 2×4s, with exterior dimensions that measure 28 ¼ inches by 17 ¾ inches.
Next, cut three 2×4s to 57 inches long. These will connect the legs together to form the base. Attach one at the bottom, at the center of each rectangle. Attach the other two at the top, spaced 11 inches apart, to support the center of the table.
FINISH THE TOP
Rest the table top on top of the base and attach. Screw down the plywood from the top. Glue the metal to the plywood with construction adhesive, making sure to press it flat for a good bounce. Use an air nailer to trim out the sides of the table with 1×3s cut to size, so you can’t see the exposed edge of the plywood and metal. Keep the trim flush with the top.
LAST STEPS
Paint the table the desired color using exterior paint, or stain. Add a removable ping pong net, pick up a paddle, and play!


